Today I have a super quick and easy tutorial on making your own inexpensive fabric covered bulletin board.
You only need a few supplies for this project: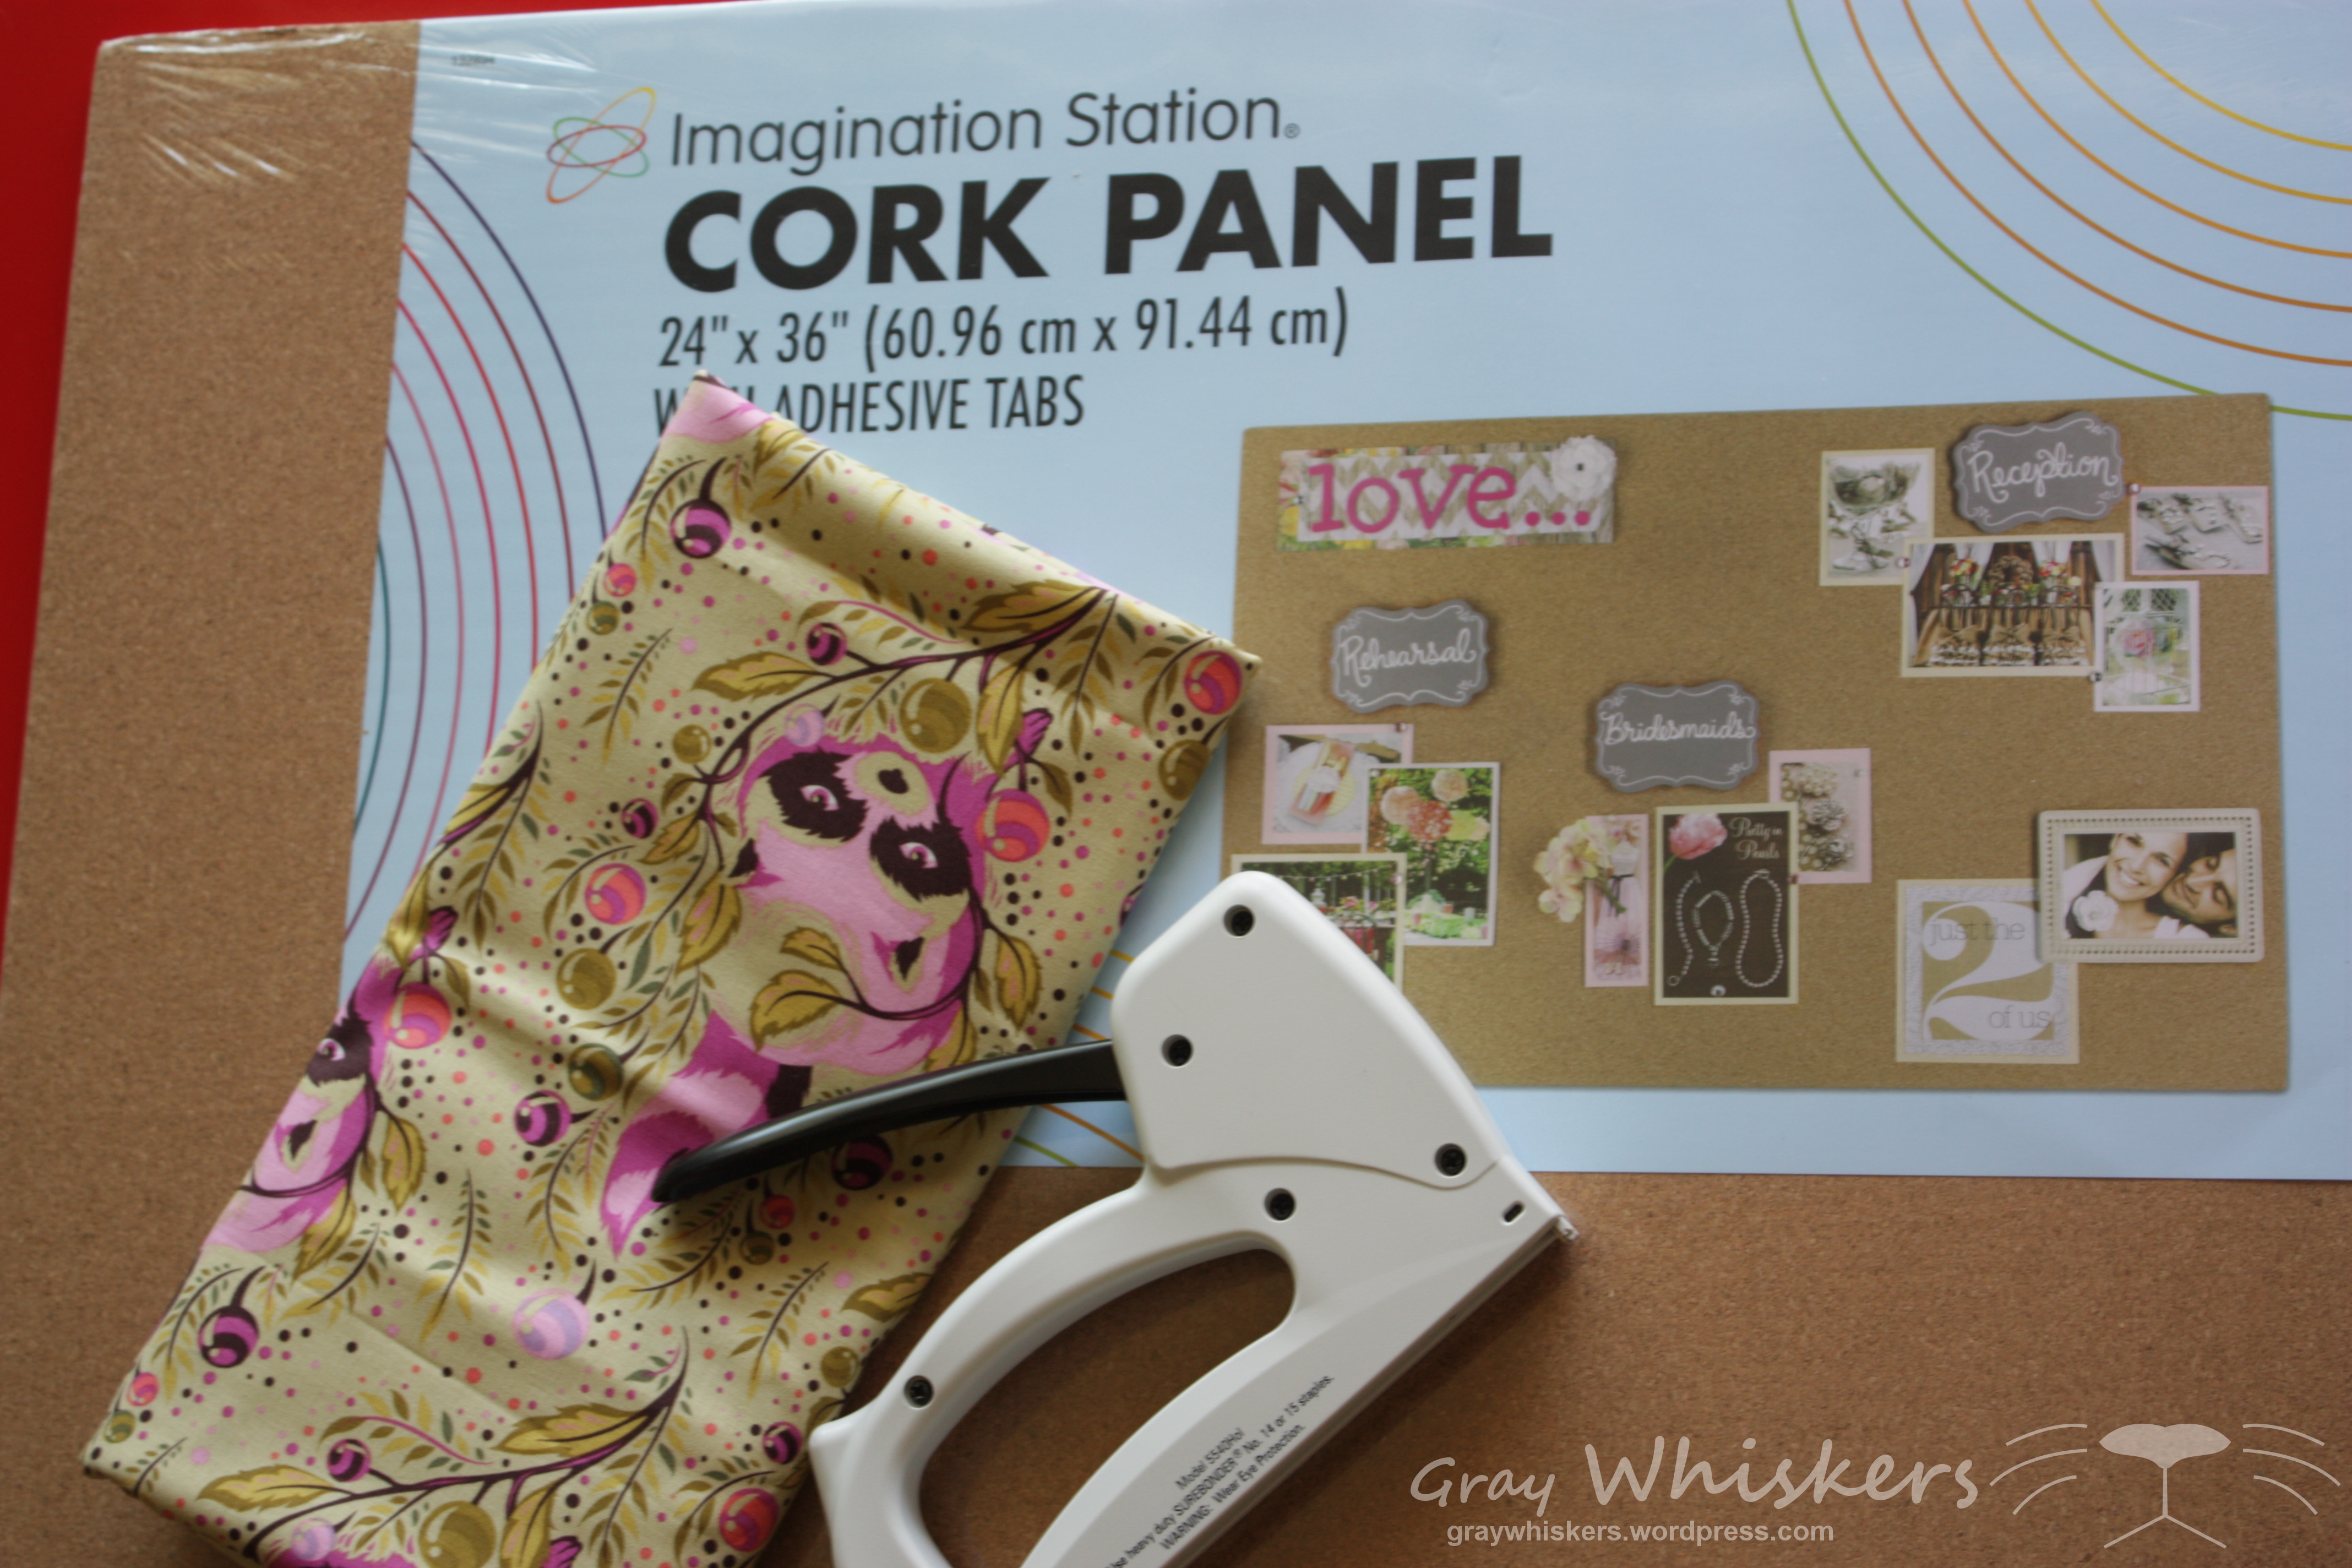
- A Cork Panel- I used a 24″ x 36″ one from Hobby Lobby ($16.99 and 30% off).
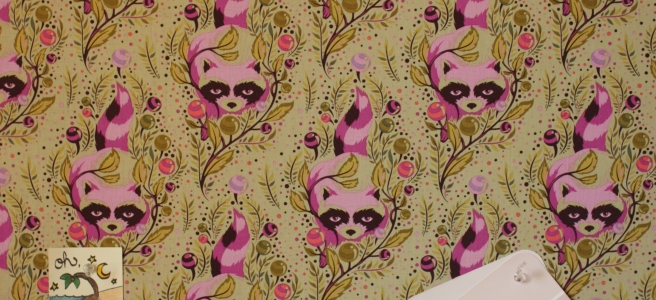
- Fabric large enough to cover the panel you selected- I am using a scrap piece of my favorite Racoon fabric from Tula Pink’s Accacia line.
- A staple gun- No need for a pneumatic one, this is just a simple one we use to hang Christmas lights. You can find one like this in the canvas stretching section at Hobby Lobby.
- Some scissors
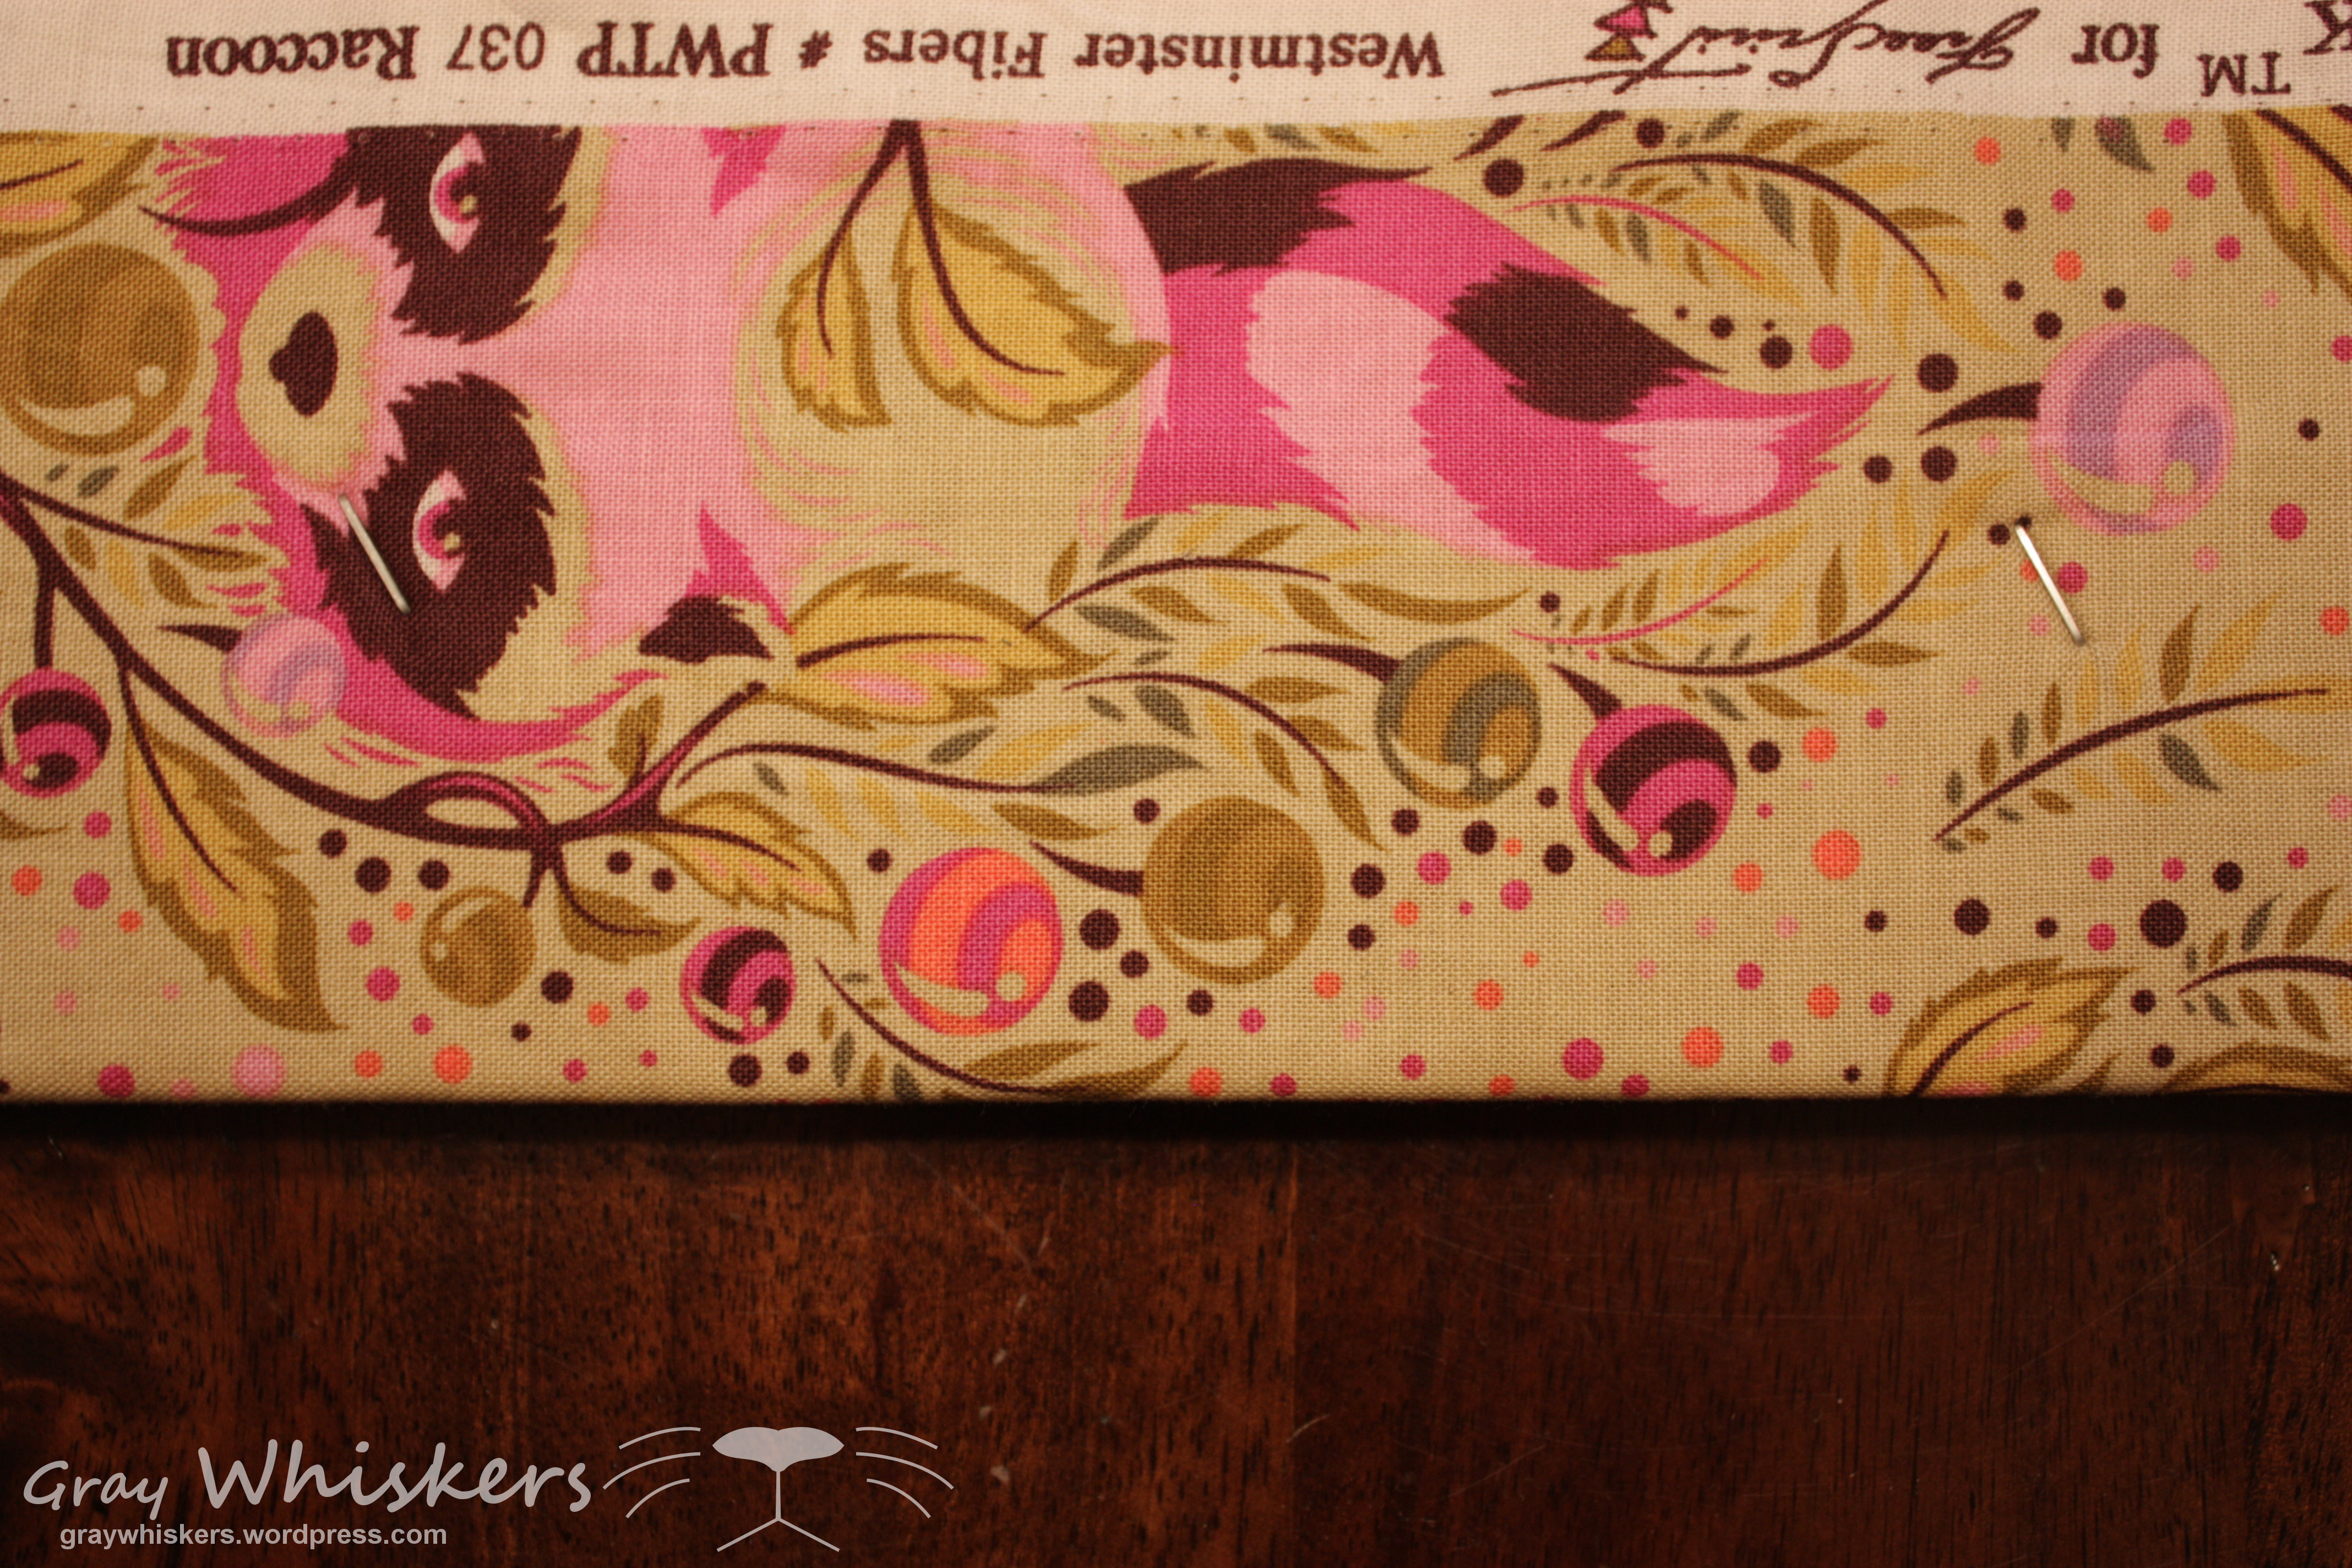
The first step is to give your fabric a good pressing. Get out all the wrinkles, throw it in the dryer with a wet towel if they are really stubborn. Next, center your cork panel face down on the wrong side of the fabric. Trim your fabric piece if need be. I left about 4 inches on each side.
 Make sure the edge of the cork board is parallel to the selvedge edge of the fabric to ensure the print will be straight on the front of the board.
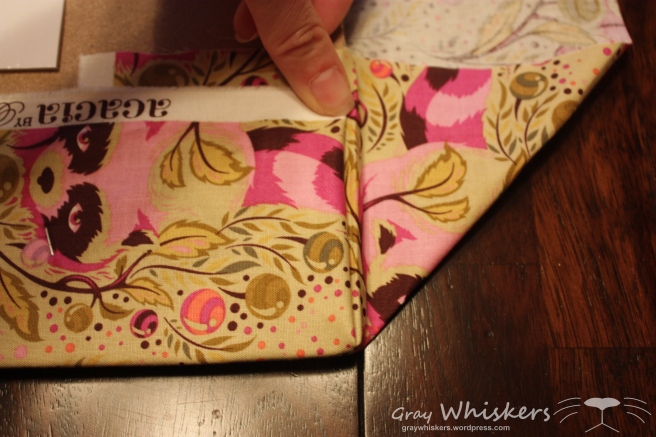
Next is wrapping. Grab two opposite ends of the fabric and pull around to the back of the board and tug both sides toward the center at the same time to pull it nice and tight across the front.

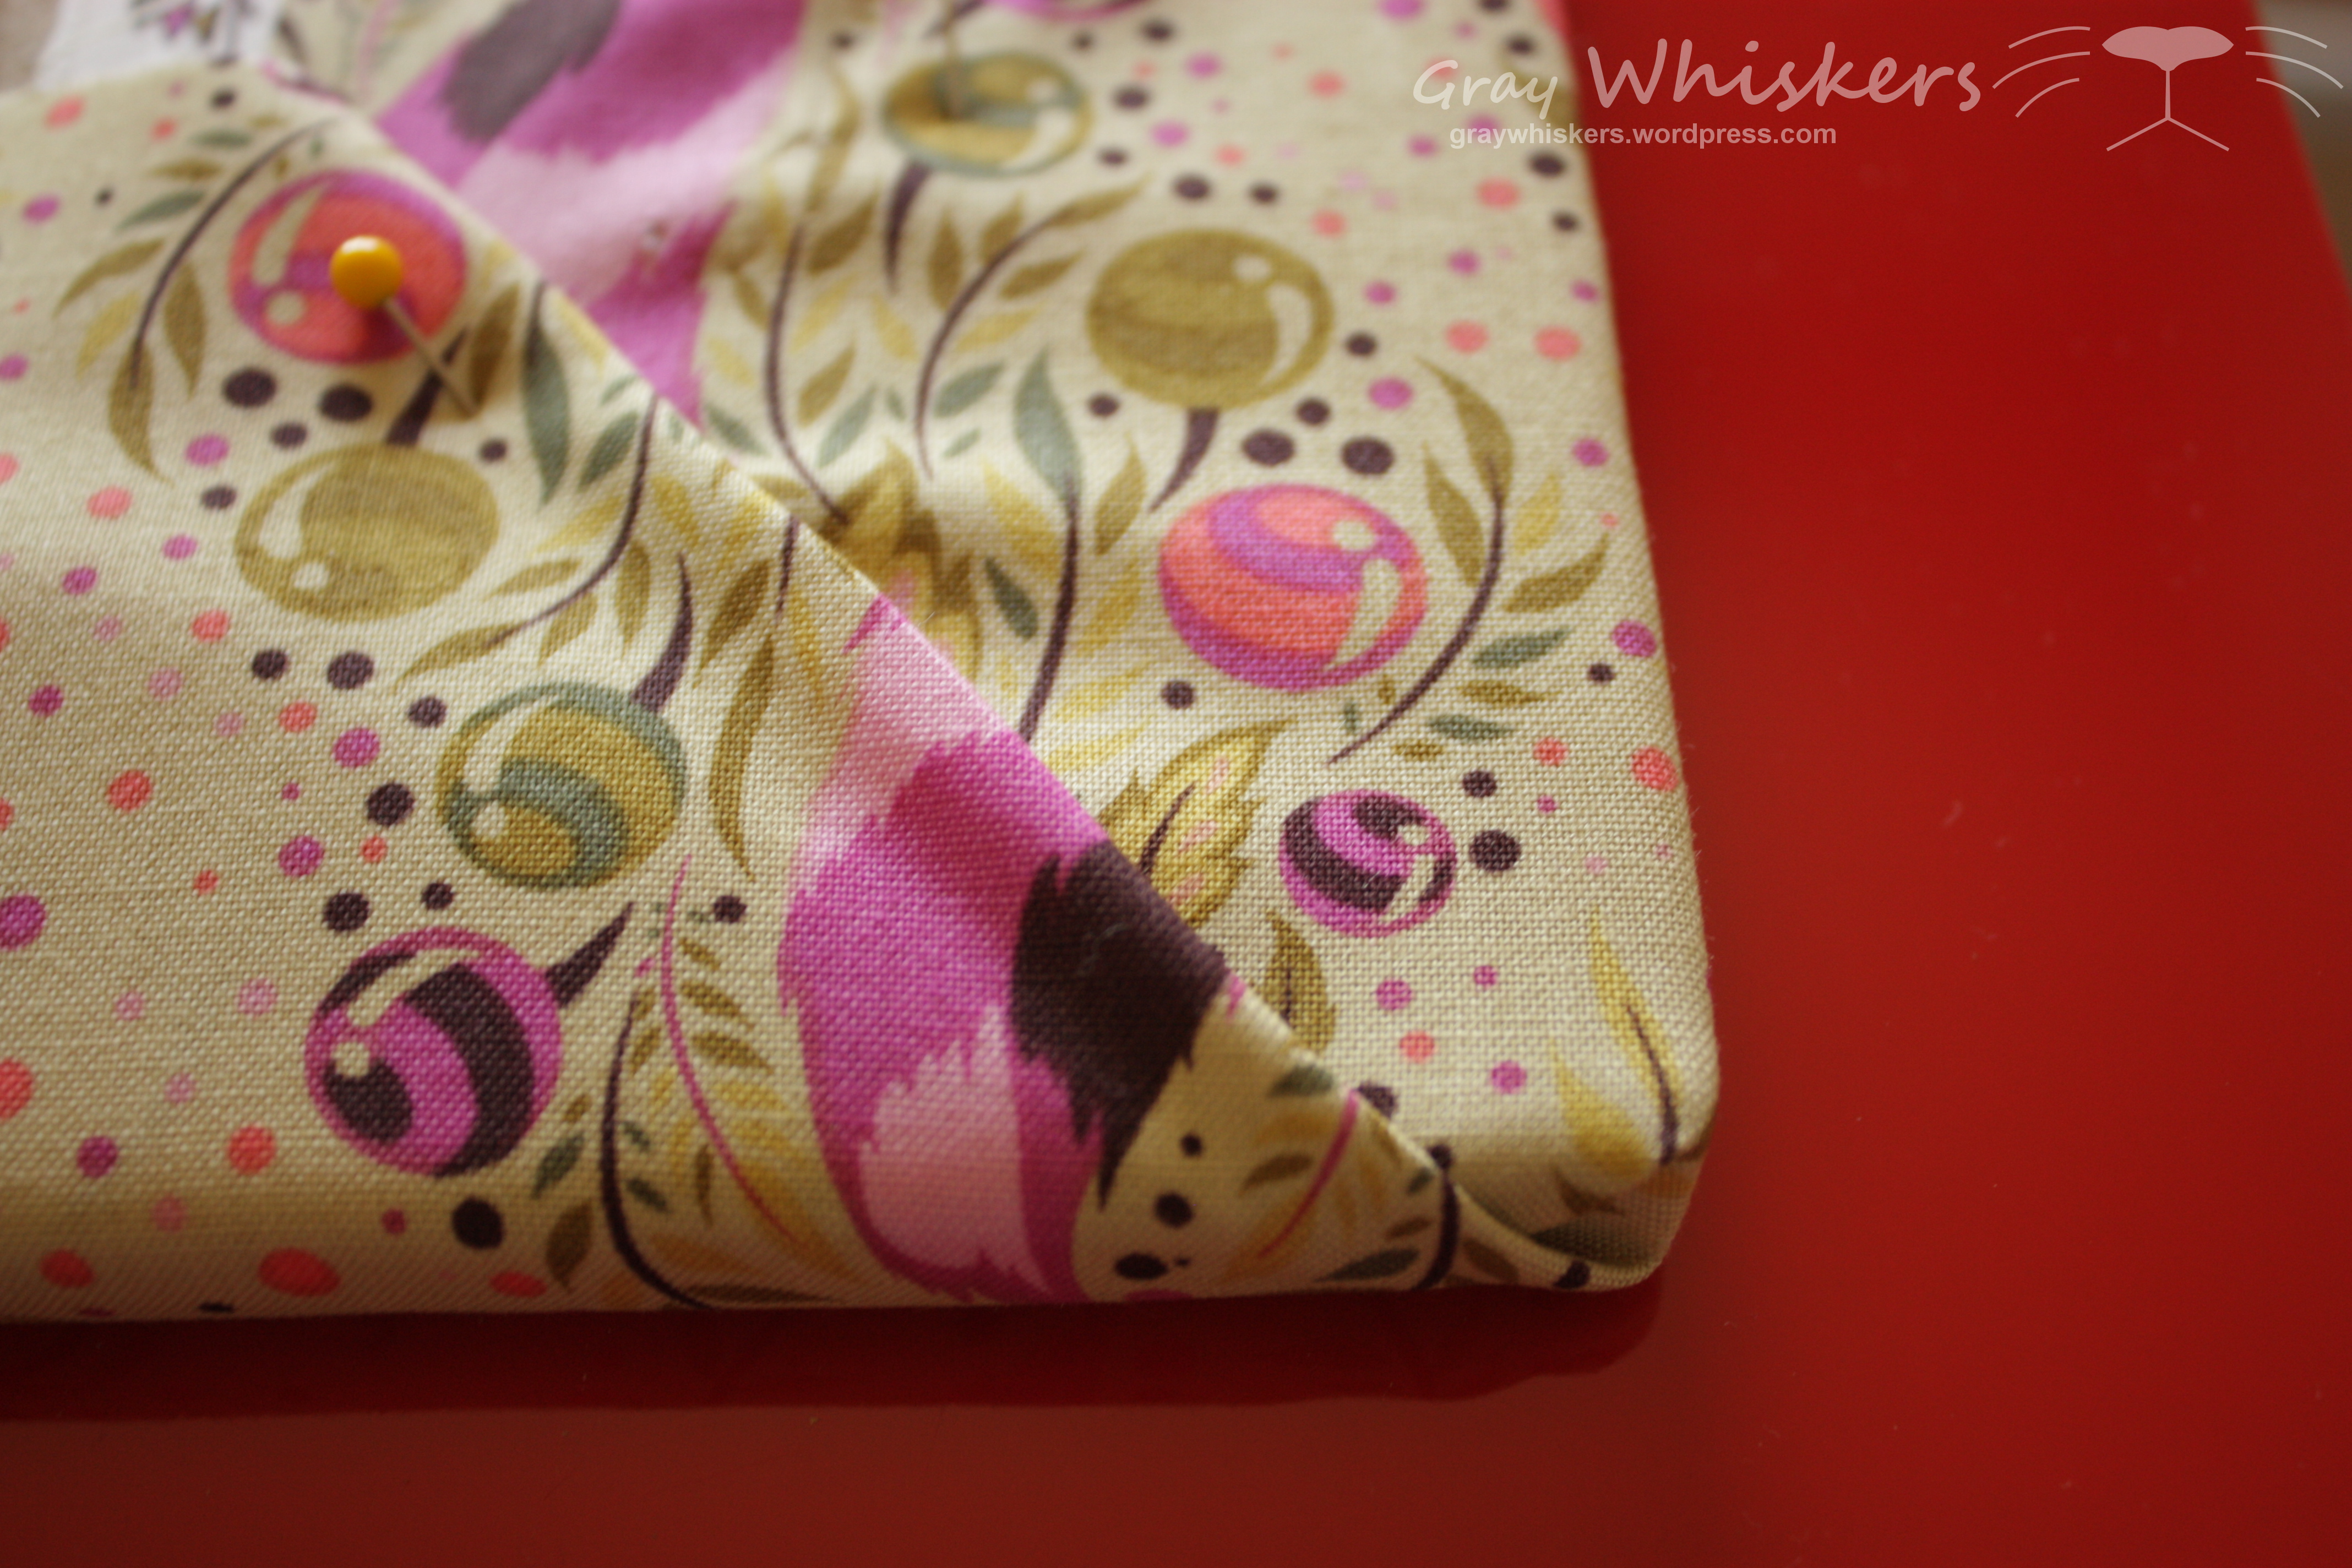
The last step before stapling is to miter the corners to get them nice and smooth so there are no bunches on the sides of the board.


 After all four corners are mitered you are ready to staple. I did one staple every 5 inches or so and about 3 inches in from the edge of the board.
 Putting the staples in at a slight angle puts just the right amount of vertical and horizontal tension on the fabric.
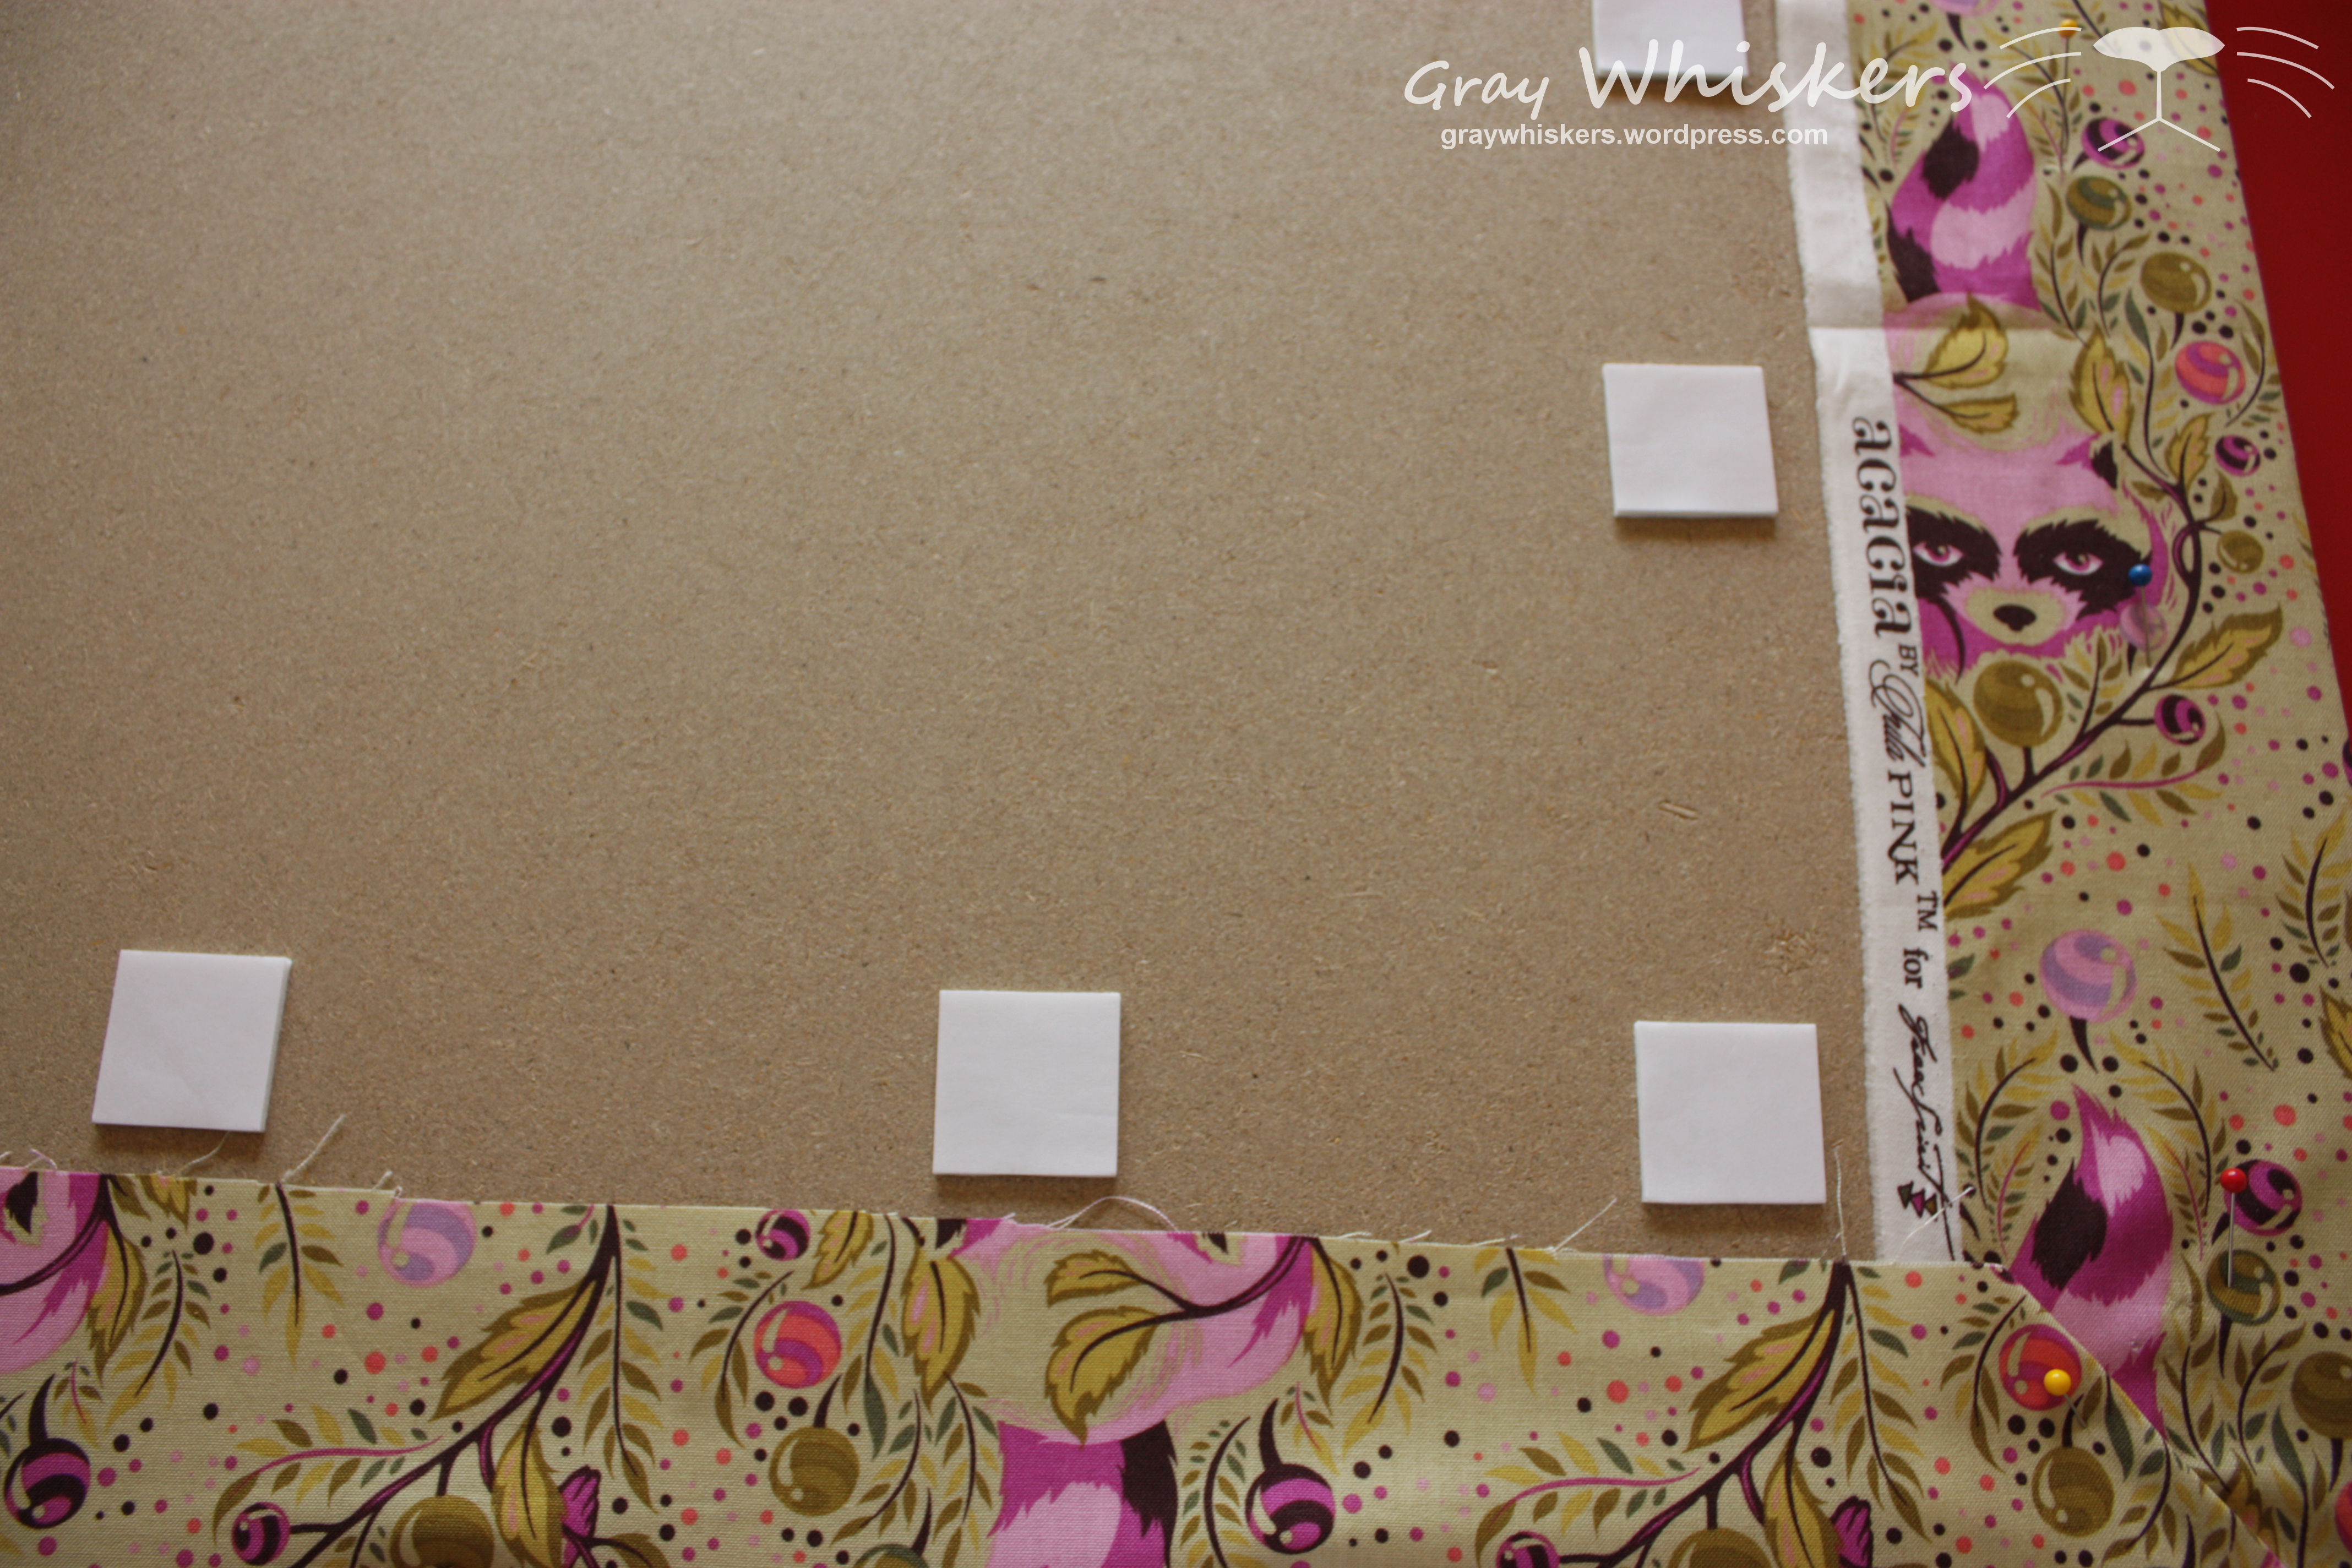 Finally I added some mounting squares to the back of the board and adhered it to my wall.
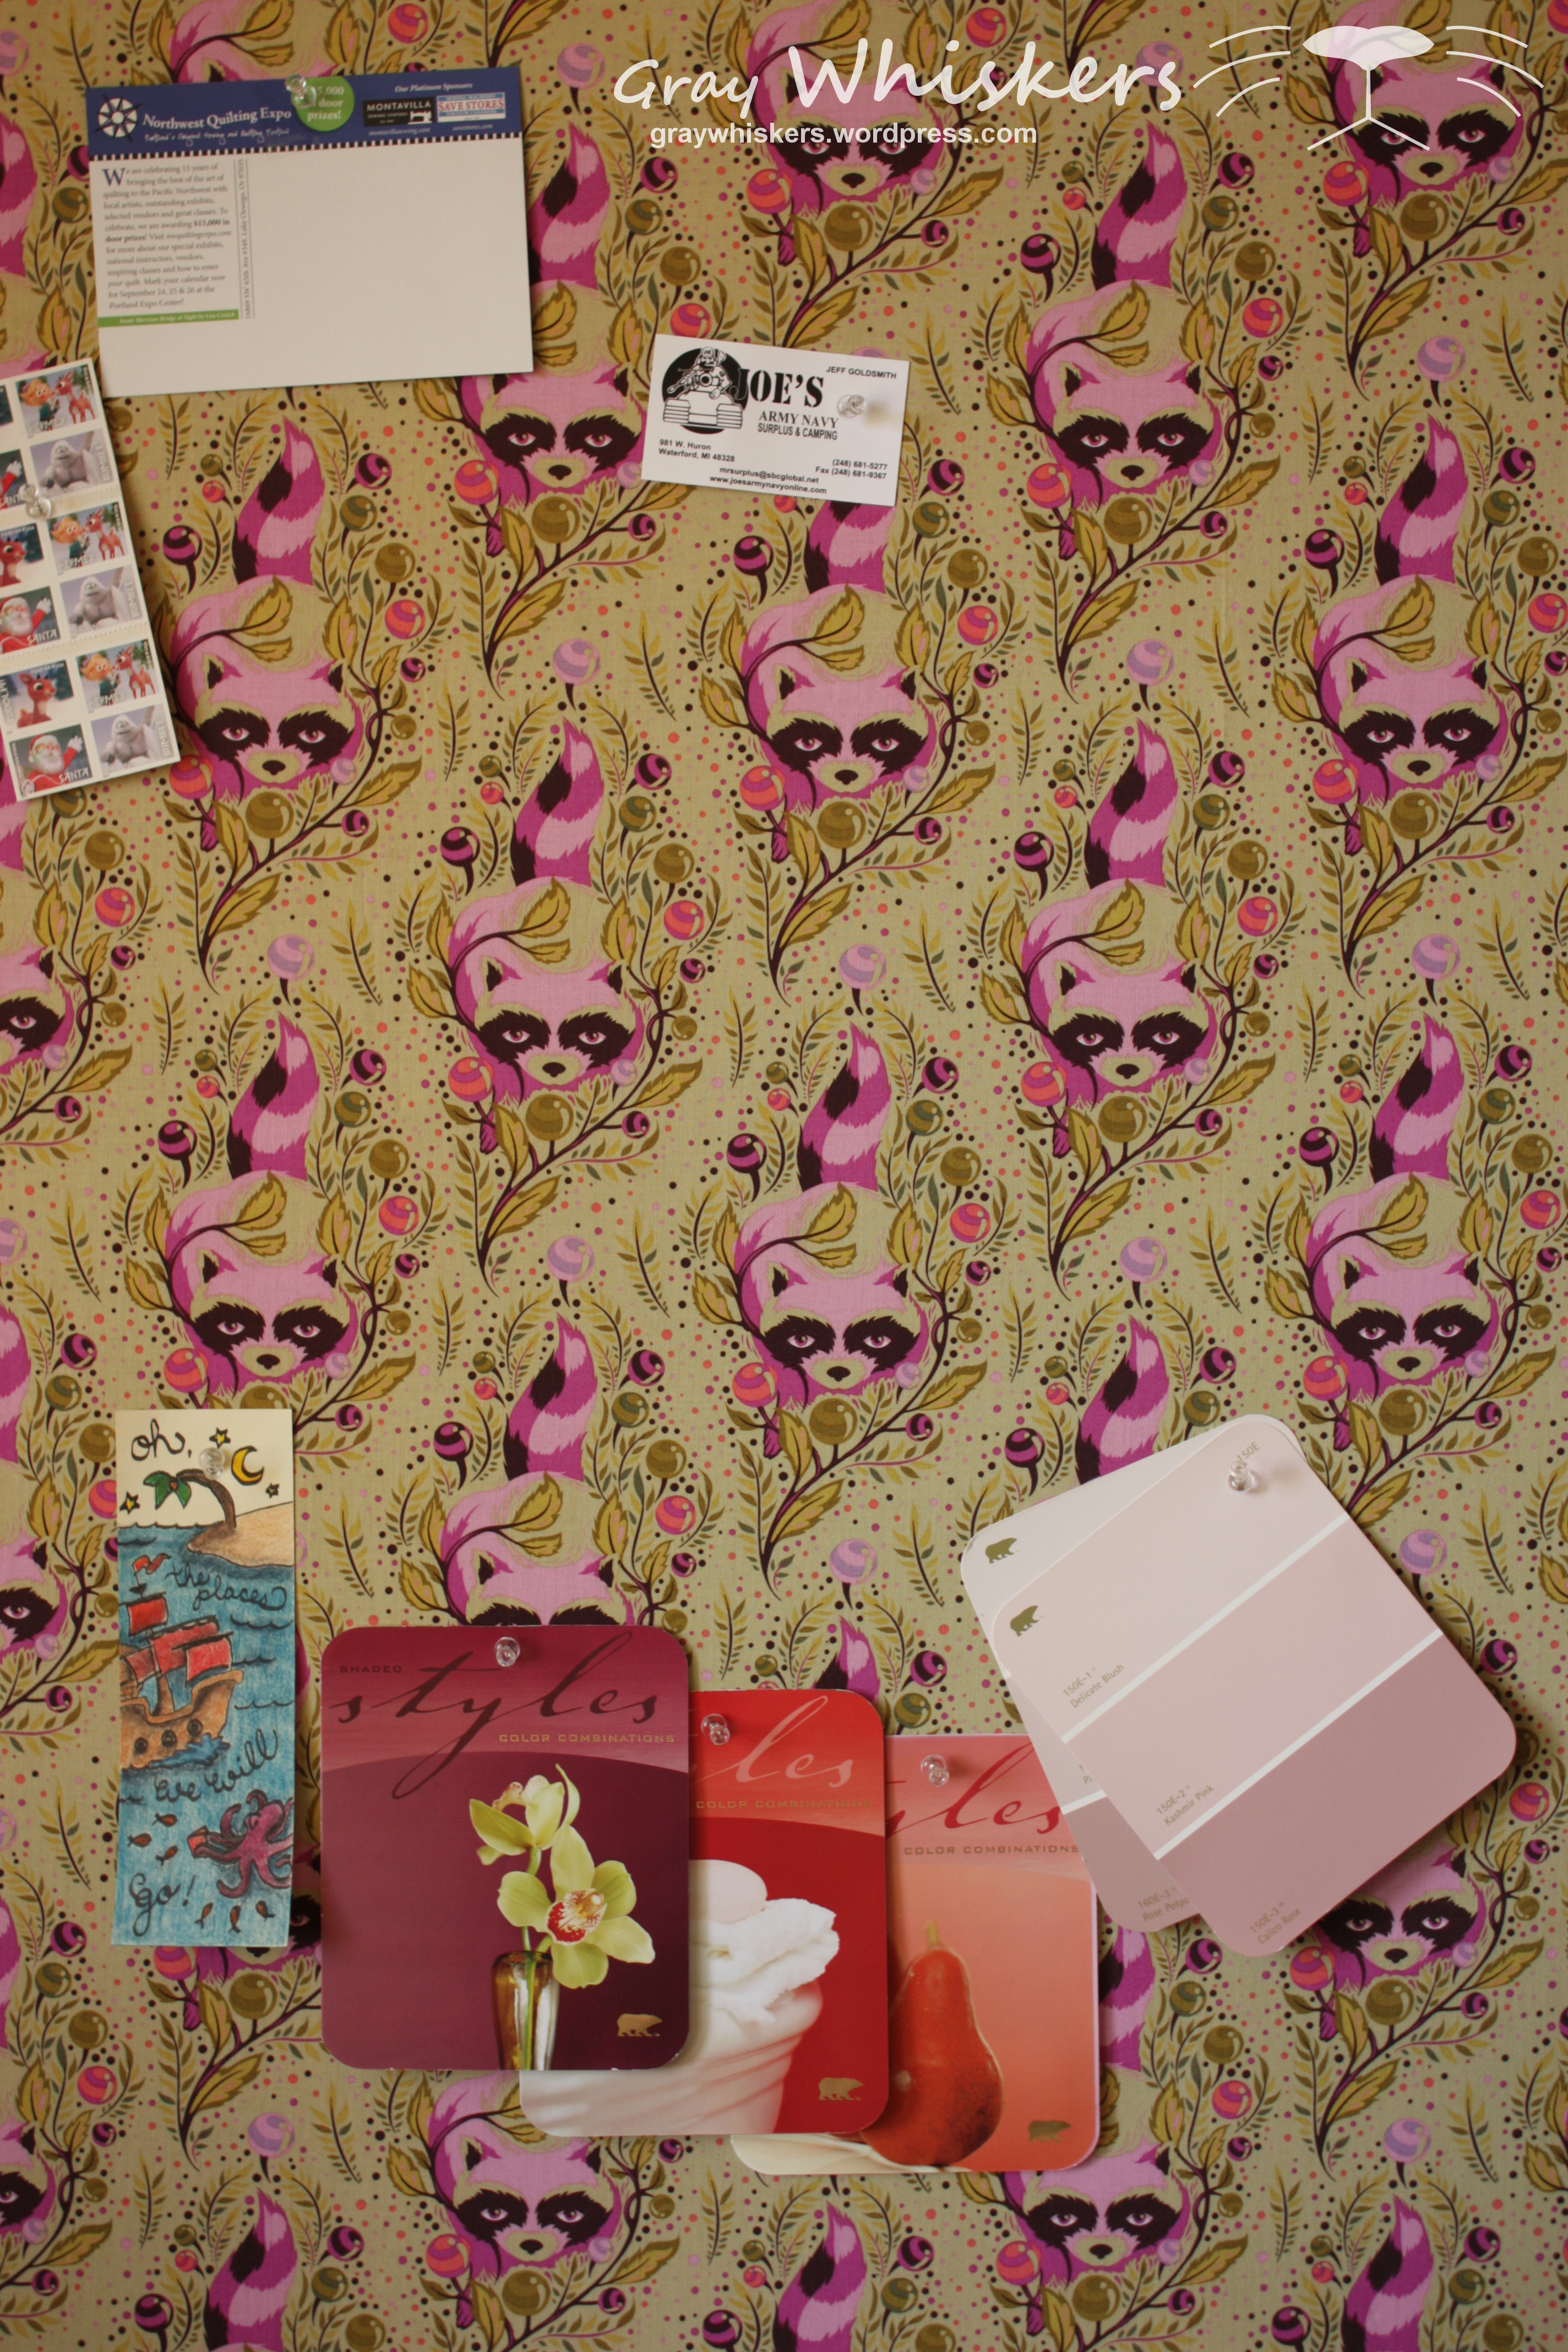 After letting the glue on the mounting squares cure overnight my new bulletin board was ready to rock n’ roll!
Thanks for stopping by!
